
Blog
Calisthenics Progression Chart for Beginners: Step by Step
Master fundamental bodyweight movements with this beginner calisthenics progression chart. Learn exact exercise tiers, rep targets, and when to level up.

To build functional strength with bodyweight training, you must manipulate leverage and gravity rather than adding external iron plates. Utilizing a calisthenics progression chart for beginners gives you a structured roadmap across fundamental pushing, pulling, squatting, and core movements. Following an exercise hierarchy outlined on ExRx.net ensures you develop tendon durability while building strength safely.
| Pattern | Tier 1 (Entry) | Tier 2 (Regression) | Tier 3 (Baseline) | Tier 4 (Advanced) | Graduation Benchmark |
|---|---|---|---|---|---|
| Push | Wall Push-Up | Incline Push-Up | Floor Push-Up | Decline Push-Up | 3 sets of 10-12 clean reps |
| Pull | Dead Hang | Incline Row | Negative Pull-Up | Standard Pull-Up | 3 sets of 8-10 reps (or 5s neg) |
| Legs | Box Squat | Bodyweight Squat | Split Squat | Bulgarian Split Squat | 3 sets of 15 reps per leg |
| Midline | Dead Bug | Forearm Plank | Hollow Body Hold | Hanging Knee Raise | 3 sets of 30-45 second holds |
Push Progression: From Wall Press to Decline Push-Ups
The fastest way to unlock floor push-ups is adjusting your mechanical advantage and body angle against an elevated surface rather than dropping straight to your knees. Knee push-ups reduce torso stabilization demands, whereas incline push-ups preserve strict plank positioning from ankle to crown.
Altering your angle shifts the percentage of body weight supported by your upper body. According to biomechanical research published by Ebben et al. in the Journal of Strength and Conditioning Research (PMID: 21873838), a standard push-up loads approximately 64% of total body mass, while elevating the hands on a 24-inch box reduces that load to roughly 41%.

- Tier 1: Wall Push-Ups. Stand arm-length from a flat wall, plant hands at shoulder width, and lower your chest until your nose touches the drywall. Keep your heels on the ground and complete 3 sets of 15 reps before progressing.
- Tier 2: High Incline Push-Ups. Place hands on a sturdy kitchen counter, smith machine bar, or back of a park bench. Lower with elbows tracking at 45 degrees relative to your ribcage. Maintain active glute engagement.
- Tier 3: Low Incline Push-Ups. Lower your hands to a standard workout bench or bottom stair riser. This steepens the angle, transferring closer to 55% of your body weight into your triceps, anterior deltoids, and pectorals.
- Tier 4: Standard Floor Push-Up. Descend under control until your chest grazes the floor, pause for a half-second, and press up to complete scapular protraction at the top lock-out.
- Tier 5: Decline Push-Ups. Elevate your toes on an 8-to-12-inch bench or step while hands remain on the ground. This elevates shoulder recruitment and increases vertical pressing strength.
Avoid flaring your elbows at 90-degree angles during any tier. Flaring excessively stresses the glenohumeral joint capsule, increasing the risk of shoulder impingement over high training volumes.

Pull Progression: Building to Your First Full Pull-Up
Pulling capacity requires systematic back conditioning and grip endurance long before your chin ever clears a bar. Attempting vertical pull-ups without building base pulling mechanics often results in elbow tendonitis or compensatory swinging.
Start your pulling journey with the horizontal row, also called the Australian pull-up, using gymnastics rings, low parallel bars, or a bar in a power rack as documented on ExRx Inverted Row. Stepping your feet forward changes your lever arm, allowing micro-adjustments in resistance.
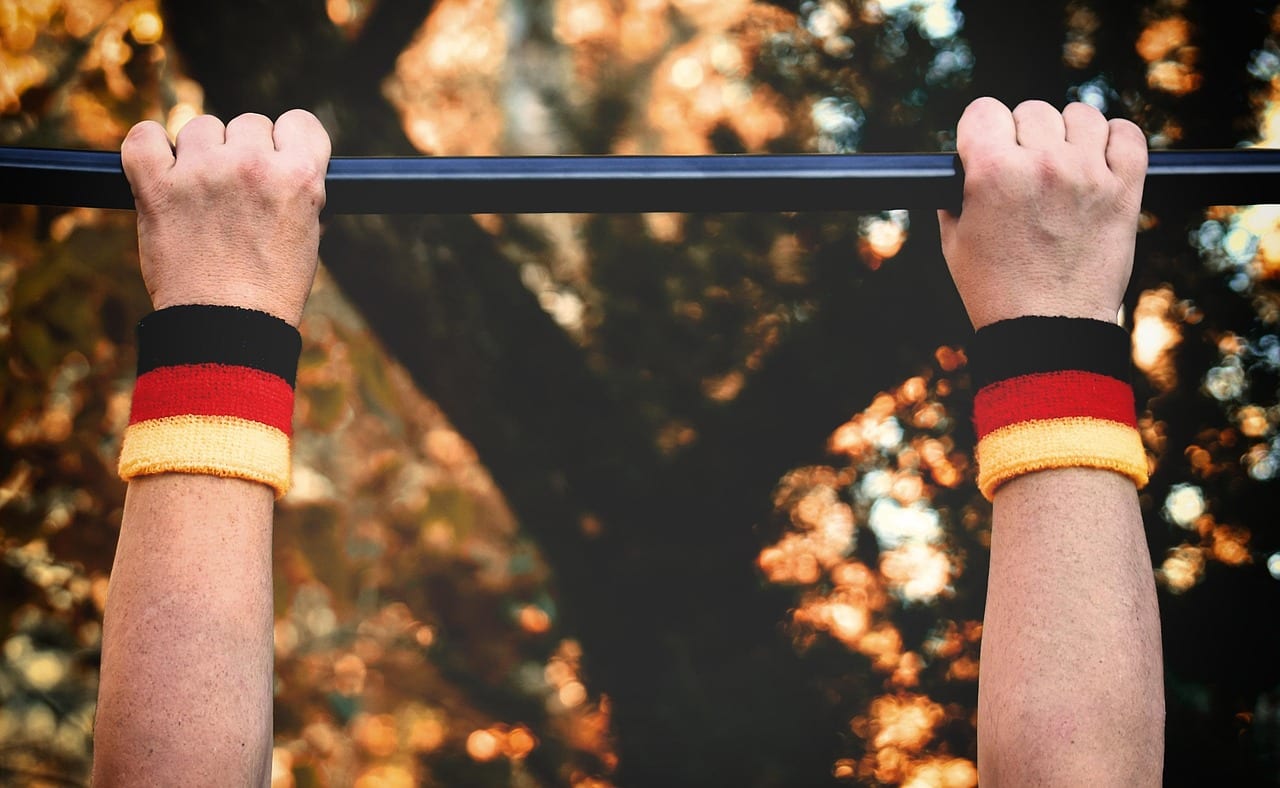
- Tier 1: Passive and Active Dead Hangs. Grab an overhead bar with an overhand grip. Hold a passive dead hang to build grip endurance. Transition to an active hang by depressing your shoulder blades down and back without bending your elbows.
- Tier 2: Scapular Pull-Ups. Hang from the bar with arms locked out. Drive your shoulder blades down toward your back pockets to raise your torso 2 to 3 inches, hold for 2 seconds, and slowly release into a dead hang.
- Tier 3: Incline Horizontal Row. Position yourself under a waist-height bar with heels on the floor. Pull your sternum to the bar while driving elbows backward and squeezing your mid-traps.
- Tier 4: Eccentric (Negative) Pull-Up. Step or hop to the top position with your chin comfortably over the bar. Lower your body under strict control for 4 to 5 seconds until arms reach full extension.
- Tier 5: Standard Pull-Up. Initiate from a dead hang with feet off the floor. Pull smoothly without kicking your knees until your throat meets bar height, then control the descent.
Mastering eccentric pull-up strength is the single most reliable predictor of your first concentric repetition. Research on eccentric training confirms eccentric loading generates significant neural adaptations and muscular hypertrophy compared to concentric-only training.
For detailed mechanics on shoulder blade positioning, review the technical breakdowns provided by BarBend pull-up guides. Never shorten your range to inflate rep counts.
Lower-Body and Midline Progression Ladders
Leg calisthenics emphasizes joint mobility and unilateral balance, while trunk training must develop static anti-extension before adding dynamic spinal flexion. A sturdy midline transfers force cleanly between your extremities.
Standard bodyweight squats develop the foundation. According to foundational movement analysis on Wikipedia's Squat reference, maintaining full foot contact and active external hip rotation protects knee integrity across high repetitions.
- Lower-Body Tier 1: Box Squat. Sit back onto a chair or 16-inch bench to learn hip-hinge mechanics and knee tracking. Stand up by driving through your midfoot and squeezing your glutes.
- Lower-Body Tier 2: Air Squat. Descend through a full range of motion (ROM) until hips drop just below parallel. Keep your heels planted and your torso as upright as your ankle mobility permits.
- Lower-Body Tier 3: Split Squat. Step one leg back into a stationary lunge stance. Lower the rear knee toward the floor at a 90-degree angle to isolate quad and glute strength unilaterally.
- Lower-Body Tier 4: Bulgarian Split Squat. Elevate your rear foot on a bench while keeping your front foot planted 3 feet forward. This significantly increases load and challenges hip stability.

Core strength in calisthenics centers around the hollow body hold, a fundamental gymnastic shape that locks your ribs to your pelvis. Clinical cues documented by the American Council on Exercise emphasize driving the lumbar spine flat against the floor to eliminate lower-back arching.
- Midline Tier 1: Dead Bug. Lie flat on your back, press your lumbar spine into the mat, and alternate extending opposite arm and leg while holding an abdominal brace.
- Midline Tier 2: Forearm Plank. Rest on elbows and toes, squeezing quads and glutes to lock your spine into a neutral alignment. Avoid letting hips sag or pike.
- Midline Tier 3: Hollow Body Hold. Lie on your back, flatten your lumbar spine, and hover shoulders and legs 4 inches off the floor. Extend arms overhead once baseline holds feel solid.
- Midline Tier 4: Hanging Knee Raise. Hang from an overhead bar with active shoulders. Tuck your pelvis and lift your knees toward your chest without using momentum or swinging.
Advancement Benchmarks and Managing Plateaus
Progressing to a harder exercise tier before demonstrating clean control invites joint strain, poor motor patterns, and frustrating training plateaus. Calisthenics strength follows strict biomechanical criteria rather than arbitrary timelines.
Follow the 3x Volume Rule: remain at your current regression until you can execute 3 sets of target reps with crisp tempo and zero form degradation. Training frameworks endorsed by the National Strength and Conditioning Association confirm that structural tendon adaptations lag behind muscular strength by roughly 4 to 6 weeks.
- Pushing Benchmark: 3 sets of 12 strict reps with chest-to-surface contact and a 2-second controlled descent.
- Pulling Benchmark: 3 sets of 10 horizontal rows at waist height, or 5 consecutive 5-second eccentric pull-ups.
- Midline Benchmark: 3 unbroken sets of 45-second hollow holds with the lower back glued to the floor.
If you hit a plateau and cannot add reps over three consecutive workouts, do not attempt the next tier. Instead, manipulate movement speed by adding a 3-second eccentric tempo or introducing a 1-second pause at the mechanical disadvantage point, as highlighted in Sports Medicine research.
Structuring Your 3-Day Weekly Progression Routine
A 3-day full-body schedule provides beginners with optimal frequency for motor learning while allowing connective tissues 48 hours of recovery between sessions. Training on Monday, Wednesday, and Friday keeps your total systemic fatigue manageable.
If you are setting up your schedule, review to pace your training sessions and establish consistency. Guidelines from the American College of Sports Medicine emphasize rest days to support cellular repair.
- Exercise 1 (Upper Push): 3 sets of your current push-up regression (8-12 reps, rest 90 seconds).
- Exercise 2 (Upper Pull): 3 sets of horizontal rows or negative pull-ups (6-10 reps, rest 90-120 seconds).
- Exercise 3 (Lower Body): 3 sets of your squat or split squat regression (10-15 reps per leg, rest 60 seconds).
- Exercise 4 (Midline Core): 3 sets of hollow body holds or hanging knee raises (30-45 seconds, rest 60 seconds).
Avoid the three most common beginner pitfalls when executing this program:
- Skipping horizontal rows: Beginners often jump directly to pull-ups, creating serious strength imbalances between the latissimus dorsi and the mid-back scapular stabilizers.
- Shortening the range of motion: Half-reps reduce mechanical tension at muscle lengthened states, blunting hypertrophy and tendon adaptation.
- Rushing the tempo: Dropping quickly without resisting gravity robs you of eccentric stimulus and elevates connective tissue stress.
- Excessive daily volume: Training everyday without rest days impedes muscle protein synthesis and causes systemic central nervous system fatigue.
How long does it take for a beginner to get their first pull-up?
Are knee push-ups or incline push-ups better for beginners?
How many days per week should I train calisthenics?
What should I do if my wrists hurt during floor push-ups?
Sources & References
- ExRx.net — Exercise kinematics, biomechanical classification, and bodyweight row movement guidelines.
- PubMed — Research analyzing mechanical loading and percentage of body mass lifted across push-up variations.
- BarBend — Technical instruction and scapular kinematics for pull-up progressions.
- American Council on Exercise — Exercise standards, core stability cues, and regression protocols.
- National Strength and Conditioning Association — Resistance training principles and connective tissue adaptation timelines.
- American College of Sports Medicine — Training volume, frequency, and recovery recommendations for beginners.
- Wikipedia — Functional anatomy and movement standards for bodyweight squatting.