
Blog
Cable Machine Full Body Workout Routine (Full Plan)
Build muscle and strength with this complete cable machine full body workout routine. Includes exercise form cues, sets, reps, and setup instructions.
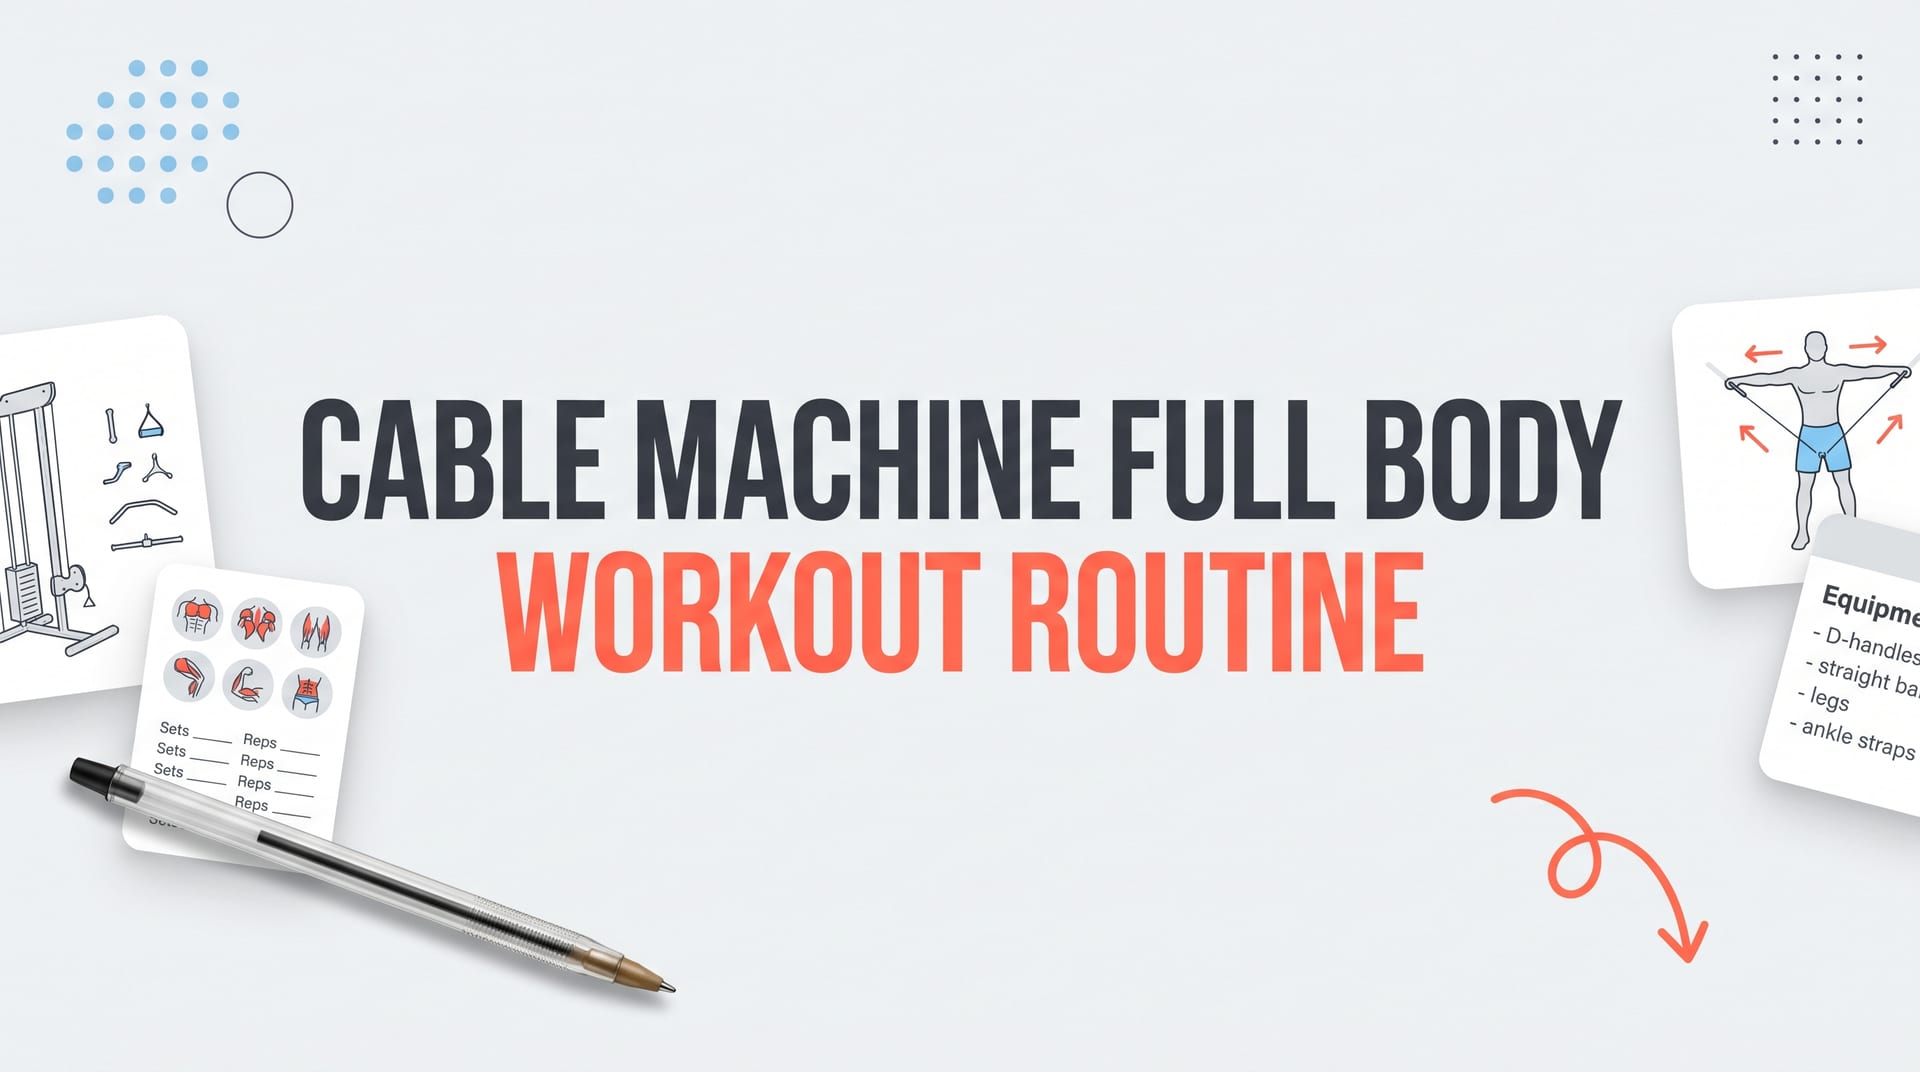
You can train every major muscle group in 45 minutes using a single dual-cable station. Executing a dedicated cable machine full body workout routine delivers continuous mechanical tension across full joint ranges, eliminating dead spots common to free weights. With a basic set of D-handles, a rope, and an adjustable pulley stack, you will stimulate balanced hypertrophy without stressing vulnerable joints.
According to biomechanical research indexed by the National Center for Biotechnology Information, continuous tension under load is a primary driver of muscular hypertrophy. If you are learning how to start fitness routine programming, cables remove balancing barriers while preserving multi-planar training paths.
The Complete Full-Body Cable Workout Structure
Organize your cable session around compound movement patterns—squat, press, pull, hinge, and core stabilization—ordered from highest neurological demand to lowest. This sequence protects stabilizing muscles from premature exhaustion while keeping overall intensity high throughout the session.
The American Council on Exercise recommends targeting all major kinetic chains in single-session programming to maximize caloric expenditure and functional recruitment. Use the baseline programming parameters below for hypertrophy and structural strength.
| Exercise | Target Muscle Groups | Attachment | Sets | Reps | Rest |
|---|---|---|---|---|---|
| Cable Front Squat | Quadriceps, Glutes, Core | Straight Bar / Dual D-Handles | 3-4 | 8-12 | 90 sec |
| Standing Cable Chest Press | Pectorals, Anterior Delts, Triceps | Individual D-Handles | 3-4 | 10-12 | 75 sec |
| Cable Neutral-Grip Row | Latissimus Dorsi, Rhomboids, Biceps | Dual D-Handles or V-Bar | 3-4 | 10-12 | 75 sec |
| Half-Kneeling Lat Pulldown | Upper Lats, Teres Major, Core | Single D-Handle | 3 | 10-12 / side | 60 sec |
| Cable Romanian Deadlift | Hamstrings, Gluteus Maximus, Erector Spinae | Triceps Rope Attachment | 3-4 | 10-12 | 90 sec |
| Standing Cable Pallof Press | Transverse Abdominis, Obliques | Single D-Handle | 3 | 12-15 / side | 45 sec |
Perform 3 to 4 working sets per exercise after one warm-up set. Rest intervals should span 60 to 90 seconds on bilateral compound movements and 45 seconds on core or unilateral exercises to maintain high density without technical degradation.
Cable Attachments and Pulley Height Configurations
Matching your attachment to joint mechanics prevents chronic wrist and elbow strain. Free-spinning attachments accommodate natural forearm rotation, whereas fixed bars force wrists into static carrying angles.
- D-Handles: Provide independent single-arm movement, accommodating wrist pronation and supination during pressing and rowing.
- Triceps Rope: Offers flexible spread at peak contraction, making it ideal for hip hinges, face pulls, and triceps extensions.
- Straight Bar or EZ-Bar: Useful for bilateral squats and symmetrical pressing where shared wrist positioning is comfortable.
- Ankle Cuffs: Secure around ankles or wrists for targeted glute kickbacks or lateral raises without grip fatigue.
Vertical pulley positioning defines your line of pull, which must align with the orientation of targeted muscle fibers. Detailed biomechanical breakdowns on ExRx.net show that misaligned cable trajectories shift tension from target muscles directly into passive joint capsules.
- Low Pulley (Knee or Floor Level): Directs resistance upward and backward. Use this for squats, deadlifts, biceps curls, and upward lateral raises.
- Mid Pulley (Chest to Hip Level): Generates purely horizontal vector resistance. Ideal for standing presses, rows, and rotational anti-flexion work.
- High Pulley (Above Head Height): Pulls resistance upward and away. Best suited for lat pulldowns, triceps pressdowns, and high-to-low chest flyes.
Exercise Execution and Form Cues per Movement Pattern
Anchor your base of support before initiating any movement. Because cables exert constant horizontal shear forces pulling you toward the weight stack, body positioning requires active core stabilization on every repetition.

1. Cable Front Squat (Lower Body Knee-Dominant)
Set dual pulleys to the lowest notch. Grasp D-handles or attach a straight bar at shoulder level in a front-rack hold. Step back 2 feet to lift the plates off the stack.
- Stance: Set feet shoulder-width apart with toes angled outward 15 to 30 degrees.
- Descent: Break at the hips and knees simultaneously, descending until thighs sit parallel to the floor.
- Counter-balance cue: Let the cable's forward pull keep your torso upright, preventing lumbar flexion.
- Drive: Push through the midfoot and heels while extending knees and glutes to return upright.
2. Standing Cable Chest Press (Upper Body Horizontal Push)
Position pulleys at mid-chest height. Grab both D-handles, take one stride forward into a staggered stance, and brace your trunk against the stack's backward pull.
- Elbow alignment: Keep elbows angled 45 degrees relative to your torso rather than flared wide.
- Pressing path: Drive handles forward along a slight converging arc without allowing your shoulders to shrug upward.
- Lockout control: Squeeze pectorals at full reach for one second without rolling your thoracic spine forward.
- Eccentric return: Control the handles back over three seconds until thumbs reach chest line.
3. Cable Neutral-Grip Row (Upper Body Horizontal Pull)
Set pulleys at belly-button height. Step back into an athletic bilateral stance with soft knees and a neutral spine. The National Strength and Conditioning Association emphasizes initiating back pulls with scapular retraction before bending the elbows.
- Scapular initiation: Retract shoulder blades backward before pulling through the forearms.
- Elbow drive: Drive elbows close past your ribs until handles meet your lower abdominal wall.
- Torso stability: Keep your spine locked at a slight 10-degree backward lean without rocking.
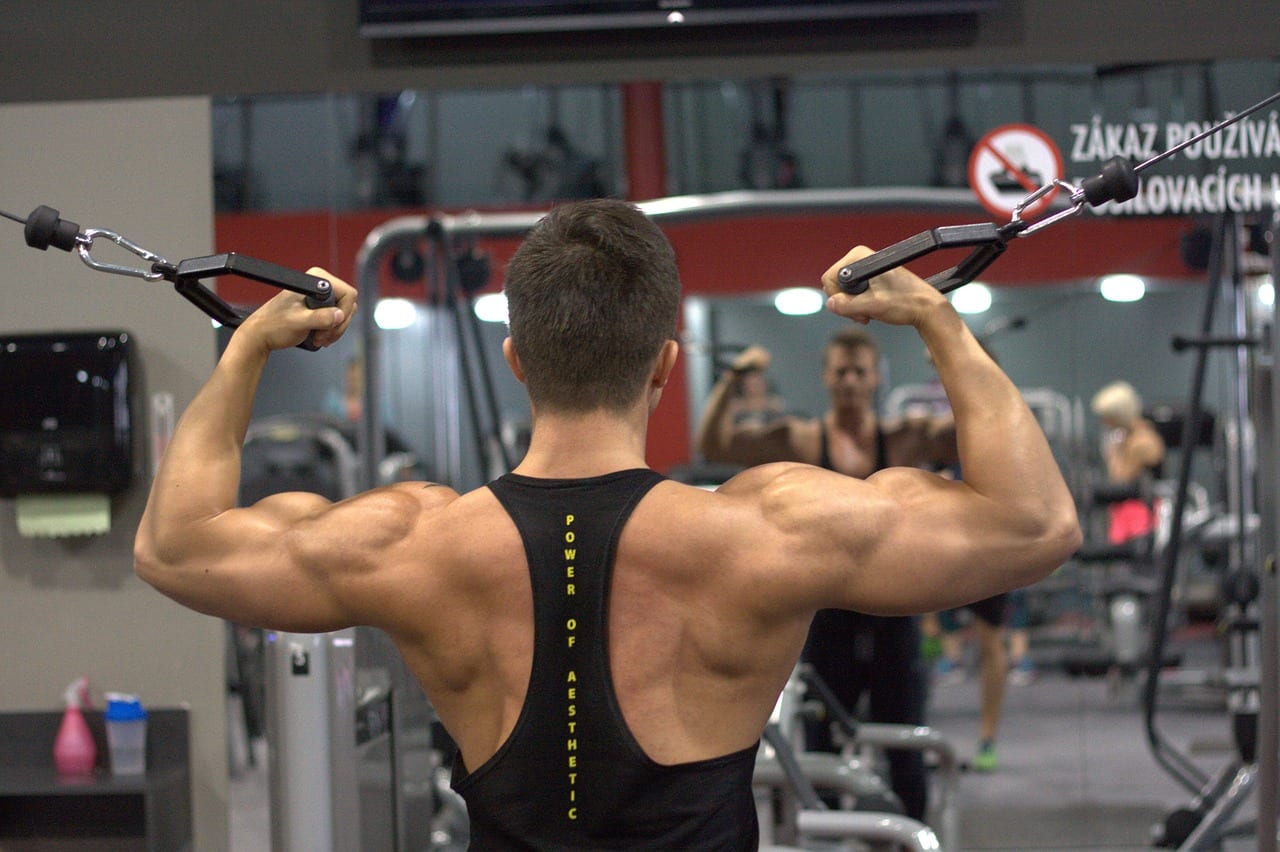
4. Half-Kneeling Lat Pulldown (Upper Body Vertical Pull)
Set a single pulley to the highest peg. Kneel on the knee on the working side, facing the stack. This single-sided setup improves unilateral lat recruitment while challenging pelvis stabilization.
- Starting stretch: Let the cable pull your arm overhead to fully lengthen the latissimus dorsi.
- Pulling vector: Drive your elbow down toward your back hip pocket, keeping your ribcage depressed.
- Anti-rotation cue: Prevent your torso from twisting toward the active cable arm.
5. Cable Romanian Deadlift (Lower Body Hip-Hinge)
Attach a rope to the lowest pulley. Straddle the cable housing facing away from the machine. Reach down between your legs to grasp the rope with both hands, then stand up.
- Hip hinge: Push your hips backward toward the weight stack while maintaining a flat back.
- Tension focus: Stop descending when you feel a deep stretch in the hamstrings, typically just below knee height.
- Glute lockout: Drive hips forward through the rope to vertical lockout, contracting glutes hard at the top.
If you alternate training days with free-weight implements, our guide on the kettlebells full body workout highlights complementary hip-hinge mechanics using dynamic ballistic loads.
6. Standing Cable Pallof Press (Rotational Core Stability)
Position the pulley at mid-chest height with a single D-handle. Stand sideways to the machine, gripping the handle with both hands held tightly against the center of your chest.
- Base: Set feet slightly wider than shoulder width with knees soft and pelvis square.
- Extension: Press the handle straight out in front of your sternum, locking out elbows.
- Anti-rotation hold: Resist the lateral torque trying to turn your shoulders for two seconds before returning hands to chest.
Progressive Overload Strategies on Weight Stacks
Weight stack pin jumps on commercial selectorized machines often leap by 10 to 15 pounds. This represents an unrealistic 20% to 50% increase on isolation movements, causing trainees to hit rapid plateaus or sacrifice strict technique.
Published findings in the Journal of Strength and Conditioning Research indicate that progressive volume, not just load increases, creates reliable mechanical stimulus for strength adaptations. Use micro-progression variables instead of jumping pin holes prematurely.
- Double Progression Model: Pick a rep window such as 8 to 12. Keep the current pin weight until you hit 12 clean reps on every working set before advancing load.
- Fractional Magnetic Add-ons: Place 1.25-lb or 2.5-lb magnetic gym weights directly onto the top selector plate to bypass large factory jumps.
- Eccentric Tempo Manipulation: Lengthen the lowering phase from two seconds to four seconds, increasing cumulative time under tension at the same load.
- Rep-Quality Pauses: Introduce a dead-stop 2-second isometric contraction at the peak point of muscular contraction on every repetition.
When manipulating training volume and caloric surplus for tissue adaptation, tools tracking body recomposition ai variables help match your mechanical volume increases with recovery capacities.

Weekly Frequency and Recovery Guidelines
Perform this full-body cable workout three non-consecutive days per week, such as Monday, Wednesday, and Friday. Because full-body routines stress your entire muscular system in each session, consecutive training days induce systemic central fatigue.
The American College of Sports Medicine recommends a minimum of 48 hours of recovery between high-intensity resistance bouts targeting the same muscle structures. While cables produce lower joint impact than heavy barbell loading, eccentric muscle damage still requires adequate downtime.
- Monday: Cable Full-Body Session A (Standard parameters)
- Tuesday: Active recovery, walking, or low-intensity mobility
- Wednesday: Cable Full-Body Session B (Focus on controlled tempos)
- Thursday: Complete rest day or light zone 2 cardiovascular conditioning
- Friday: Cable Full-Body Session C (Volume or rep-density focus)
- Saturday & Sunday: Full systemic rest and nutritional replenishment
Clinical guidelines published by the Mayo Clinic confirm that consistent rest intervals allow micro-tears in muscle fibers to rebuild stronger, preventing overtraining syndrome and tendon inflammation.
Can you build serious muscle using only a cable machine?
Is a cable machine full-body workout better than free weights?
How long should this cable full-body workout take?
What if my gym only has a single-pulley cable stack?
Sources & References
- National Center for Biotechnology Information — Clinical peer-reviewed studies on resistance training mechanics and hypertrophy drivers.
- American Council on Exercise — Evidence-based guidelines for full-body resistance training volume and movement sequencing.
- ExRx.net — Biomechanical exercise library illustrating lines of pull, muscle pennation, and joint kinematics.
- National Strength and Conditioning Association — Standardized exercise execution cues and compound pulling form directives.
- Journal of Strength and Conditioning Research — Research on mechanical tension, rep volume progression, and progressive overload.
- American College of Sports Medicine — Position stands on resistance training frequency, recovery intervals, and volume parameters.
- Mayo Clinic — Medical overviews covering muscle tissue adaptation, overtraining prevention, and rest protocols.