
Blog
How to Train to Failure Safely: The Complete Guide
Learn how to push sets to failure safely without injury. Master exercise selection, safety pin setups, bailout mechanics, and systemic fatigue limits.

How to Train to Failure Safely: The Complete Guide
Maximize mechanical tension and muscle hypertrophy without compromising joint health, technique, or recovery.
Mastering training to failure safely gives you maximum mechanical tension without joint damage or chronic exhaustion. You need about 45 to 60 minutes per session, stable gym equipment, and strict movement discipline. Pushing to failure works only when you know where technical integrity ends and dangerous breakdown begins.
According to the American College of Sports Medicine, lifting intensity drives neuromuscular adaptation, but unchecked form breakdown triggers acute injury. You will learn how to identify your true threshold, pick forgiving exercises, rig physical safety catches, and regulate total failure volume.
| Movement Category | Failure Type Permitted | Primary Risk Factor | Required Safety Mechanism |
|---|---|---|---|
| Machines & Cables | Momentary Muscular Failure | Localized soft-tissue strain | Built-in machine stops and weight stacks |
| Dumbbell Isolations | Momentary Muscular Failure | Dropped weights on limbs | Clear floor clearance and controlled drops |
| Free-Weight Bench Press | Technical Failure Only | Barbell pinning trachea or ribcage | T-pins, spotter arms, or an alert spotter |
| Axial Compounds (Squat/Deadlift) | 1 to 2 Reps in Reserve (RIR) | Spinal disc herniation and shear stress | Power rack pins or bumper plate bails |
Technical Failure vs. Muscular Failure: Knowing When to Stop
Your set ends the instant your biomechanics alter, not when the resistance physically pins you to the bench. Understanding the boundary between technical failure and momentary muscular failure determines whether a training cycle yields rapid growth or months of orthopedic rehabilitation.
Technical failure occurs when you cannot complete another repetition using textbook form. That means no torso swinging on bicep curls, no hip shifting on leg presses, and no lumbar extension during overhead presses. The target muscle is exhausted, but secondary prime movers have not yet hijacked the load.
Conversely, momentary muscular failure occurs when your neuromuscular system cannot produce enough force to complete the concentric phase against a given resistance, even with maximum voluntary effort. Peer-reviewed data in a systematic review on proximity to failure shows both approaches yield comparable muscle growth, but absolute failure elevates fatigue.
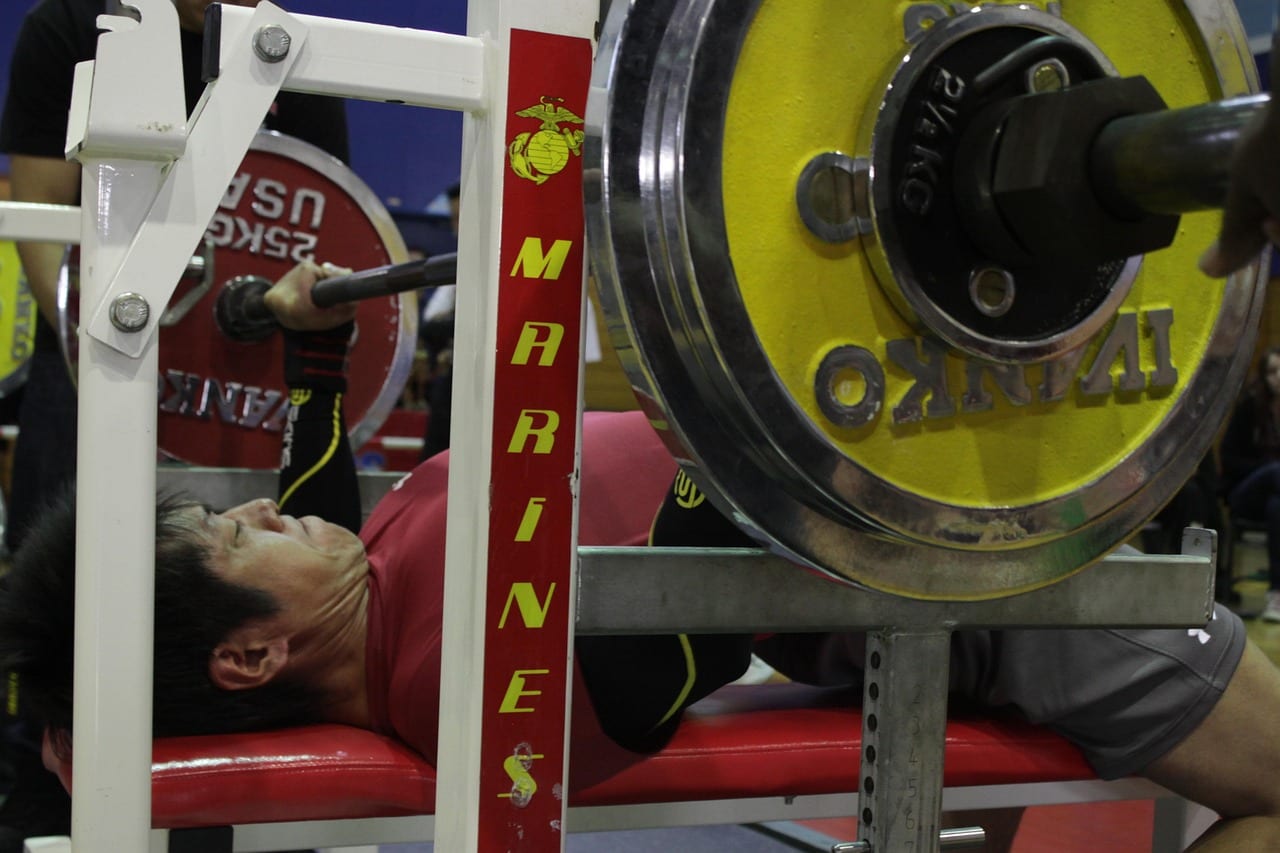
Hypertrophy is driven by recruiting high-threshold motor units under high tension. It does not require catastrophic form breakdown.
Beginners lack the motor control to discern muscle fatigue from joint compensations. Anyone with under 12 months of consistent lifting should stay at 2 to 3 reps in reserve (RIR), which measures how many repetitions you could complete before reaching concentric failure.
- Sudden tempo deceleration: Repetition speed grinds to a near halt without intentional pausing.
- Biomechanical distortion: Elbows flare out on presses, or knees cave into valgus collapse on leg movements.
- Momentum recruitment: Unintentional hip drive, torso arching, or kicking to clear the sticking point.
- Asymmetrical force output: One arm or leg bears more than 60% of the working load to finish the rep.

Exercise Selection: Safe Failure Movements vs. High-Risk Lifts
Never take heavy, spinal-loaded free-weight movements to absolute failure. Exercises that place shear forces across your vertebrae require immense bracing. When your primary movers fail on these lifts, your stabilizing musculature buckles, transferring dangerous stress directly into ligaments, tendons, and spinal discs.
The Mayo Clinic strength training safety guide stresses that compound spinal exercises demand strict form conservation. On lifts like conventional deadlifts, barbell back squats, and standing overhead presses, stop sets at 1 to 2 RIR to preserve your spine.
- Barbell deadlifts and Romanian deadlifts: Fatigue causes lumbar flexion, dramatically increasing disc herniation risk.
- Barbell back squats: Missing the ascent risks dropping forward or trapping your spine beneath heavy iron.
- Standing barbell military press: Lower back hyperextends excessively to force the bar past forehead level.
- Barbell good mornings: Extreme hamstring and spinal fatigue risks severe lower-back shear forces.
Instead, target true muscular failure using machine-based training and cable setups. Guided tracks remove balance demands and eliminate crushing hazards. Biomechanical breakdowns on the ExRx.net exercise directory demonstrate how fixed lever paths isolate target muscles while stabilizing peripheral joints.

- Selectorized chest and shoulder presses: Stacks catch the weight immediately when concentric drive ceases.
- Cable lateral raises and flyes: Constant tension challenges the muscle without momentum or joint strain.
- Leg press and hack squats: Mechanical safety catches catch the carriage if your quads fail to lock out.
- Dumbbell seated curls and extensions: Dumbbells can be safely guided down to thighs or floor mats without pinning you.
Safety Equipment and Spotter Protocols
Pin placement determines whether a missed repetition is an ordinary event or an emergency room visit. Before you load a barbell, you must calibrate the physical stops on your power rack or half rack to your body's exact anatomical bottom position.
When bench pressing inside a rack, adjust safety pins so the barbell sits roughly 1 inch above your throat and chest when your torso is relaxed flat. Arch your upper back slightly during the lift. If you fail, flatten your chest out, slide out smoothly, and let the pins carry the bar.
- Benchmark your bottom position: Test pin height with an empty bar at the bottom of your range of motion.
- Maintain clearance during the arch: Ensure the bar does not bang against the safety pins during standard repetitions.
- Keep collars unlocked without spotters: If benching outside a rack without pins, omit barbell collars to allow tilting and dumping plates.
- Verify carriage safety catches: Double-check that leg press safety locks disengage and engage smoothly before loading plates.

For dumbbell exercises, master the bail pathway. If your arms fail on seated dumbbell presses, push the weights forward and drop them to your knees or directly to rubber gym flooring. Never let dumbbells pull your arms backward into external shoulder rotation.
When using a human spotter, clear communication is essential. The National Academy of Sports Medicine spotting standards specify that spotters must assist the lifter's wrists or the barbell itself, avoiding the elbows during dumbbell presses to prevent catastrophic joint collapse.
- Agree on target rep counts: State intended repetitions and whether you want assistance on a final forced rep.
- Use explicit bailout calls: Agree on a clear, single-word cue such as 'Take' before starting the set.
- Spot wrists, not elbows: Place your hands directly beneath the lifter's wrists on dumbbell bench presses.
Volume and Frequency: Managing Systemic Fatigue
Taking every single set to failure produces massive central nervous system fatigue without added hypertrophy. Neuromuscular research published in the Journal of Strength and Conditioning Research reveals that full failure sets drastically increase recovery timelines compared to leaving 1 to 2 reps in reserve.
Systemic fatigue impairs subsequent set performance, reducing your total productive volume for the rest of the workout. A comprehensive clinical review in Sports Medicine indicates that excessive volume taken to failure impairs muscle protein synthesis recovery windows by up to 48 to 72 hours.

To maximize hypertrophic stimulus while managing joint wear, limit true failure to the final set of an exercise. Keep your initial warm-up and working sets at 2 to 3 RIR. Intensity techniques like drop sets trigger failure through accumulated metabolite fatigue rather than heavy loading.
- Cap per-muscle failure sets: Limit true failure to 1 to 2 total sets per muscle group in any single workout.
- Restrict weekly failure exposure: Cap total weekly failure sets across all muscle groups at 6 to 10 sets.
- Space muscle frequency: Allow at least 48 hours of recovery before training that same muscle group to failure again.
- Deload every 4 to 6 weeks: Drop intensity to 3 RIR across all lifts to clear accumulated neural exhaustion.
Adopting a structured program such as a custom workout plan or an ai personal training plan helps lifters periodize intensity automatically. Lifters running advanced reverse pyramid training structures typically reserve absolute failure strictly for their lightest final back-off sets.
If you want intelligent training plans that calculate optimal proximity to failure for every movement, explore the automated tracking features in Fitnix.
How do you train to muscular failure safely?
What is the difference between technical failure and absolute muscle failure?
Which exercises should never be taken to failure?
How many sets per workout should be taken to failure?
Can beginners train to failure safely?
Sources & References
- American College of Sports Medicine — guidelines on resistance training progression models and exercise safety
- PubMed study on proximity to failure — systematic review evaluating muscle hypertrophy across varied reps in reserve
- Mayo Clinic strength training safety guide — biomechanical guidance on injury prevention and joint preservation
- ExRx.net exercise directory — kinematic analysis of fixed-path machine and cable isolation mechanics
- National Academy of Sports Medicine — certified personal trainer standards for exercise spotting and rack setup
- Journal of Strength and Conditioning Research — peer-reviewed research on neuromuscular fatigue recovery timelines
- Sports Medicine — systematic evaluation of muscle damage and metabolic stress following failure protocols
- National Strength and Conditioning Association — foundational textbook protocols for resistance training periodization