
Blog
Beginner Strength Training Routine After 50: Safe Guide
Start building muscle, protecting joints, and improving bone density with this safe, step-by-step beginner strength training routine for adults over 50.
Beginner Strength Training Routine After 50
A joint-friendly, functional lifting program designed to rebuild muscle mass, protect bone mineral density, and restore daily vitality.
Starting a beginner strength training routine after 50 requires two 40-minute sessions per week, a light pair of dumbbells, and clear movement boundaries. You do not need punishing workouts to reverse age-related muscle loss. Following a structured resistance plan restores functional mobility, strengthens connective tissues, and establishes physical independence for decades to come.
According to guidelines from the Centers for Disease Control and Prevention, adults over 50 need at least two days of muscle-strengthening activity weekly to preserve metabolic health. If you are learning how to start a fitness routine, prioritizing consistent form over heavy loads ensures steady progress without orthopedic setbacks.
Weekly Training Frequency and the 48-Hour Recovery Rule
Train two non-consecutive days per week when starting out, advancing to three days only after completing six consistent weeks. Your muscles may recover within 24 hours, but your tendons, ligaments, and synovial joints require a 48 to 72-hour recovery window to remodel collagen fibers after load-bearing stress.
Research indexed in PubMed shows that age-related muscle decline, known as sarcopenia, accelerates by roughly 1% to 2% annually after age 50 without intervention. However, connective tissues also lose hydration with age, making daily heavy lifting counterproductive for mature beginners.
2-3 Days
Ideal Weekly Strength Frequency
48-72 Hours
Required Joint Recovery Window
1-2%
Annual Muscle Mass Loss Prevented
A standard schedule that balances joint rest and neuromuscular stimulation pairs workouts on Tuesday and Friday, or Monday, Wednesday, and Friday. Dedicate intervening days to light walking and gentle mobility. Pair this routine with adequate daily protein—roughly 1.2 to 1.6 grams per kilogram of body weight—to support muscle protein synthesis.
Joint-Friendly Dynamic Warm-Up Routine
Cold, static stretching before lifting decreases power output and does nothing to lubricate stiff joints. A targeted dynamic warm-up raises core temperature, activates dormant stabilizing muscles, and prompts joint capsules to secrete synovial fluid within 5 to 8 minutes.
As outlined by the American College of Sports Medicine, active preparatory movement increases soft-tissue compliance and prepares the nervous system for mechanical load. Execute this sequential mobility sequence before picking up a single weight:
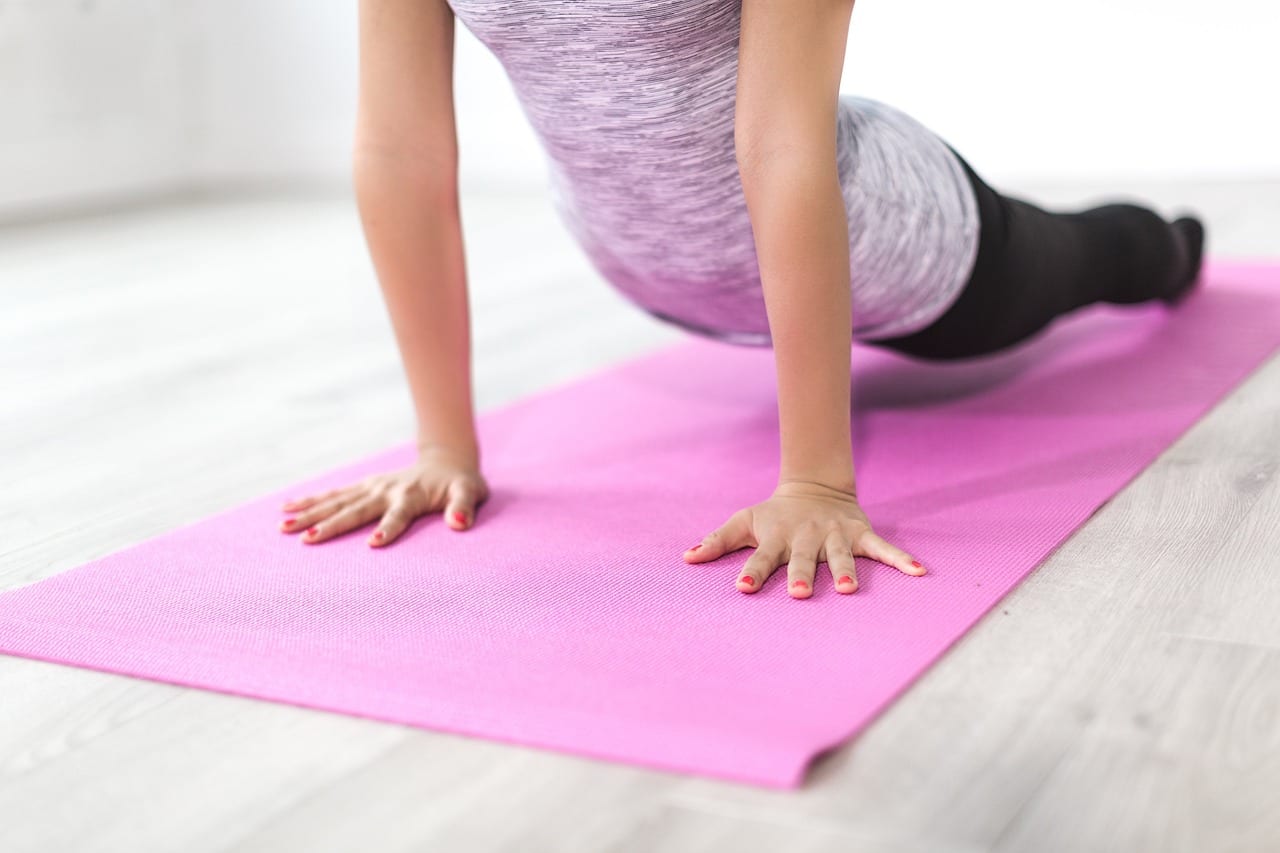
- Cat-Cow Spinal Flexion: 10 slow repetitions on hands and knees to gently mobilize lumbar and thoracic vertebrae.
- Glute Bridges: 10 repetitions with a 2-second isometric pause at the top to awaken inactive hip extensors.
- Arm Circles & Chest Openers: 10 backward circles followed by 10 horizontal hugs to lubricate the glenohumeral joint.
- Standing Hip Hinges: 10 unweighted repetitions sliding palms down thighs to prep the hamstrings and lower back.
- Assisted Bodyweight Squats: 8 repetitions holding a sturdy doorframe or rail to open hip and ankle capsules safely.
The 5 Foundational Movement Patterns for Lifelong Joint Health
Isolating small muscles on complex gym machines fails to build practical functional capacity. Instead, focus on compound movements—multi-joint exercises that train your body to work as an integrated unit while handling real-world physical demands like lifting groceries or climbing stairs.
The Squat / Sit-to-Stand
The Hip Hinge
The Upper Body Push
The Upper Body Pull
The fifth movement pattern is the loaded carry, such as the farmer's walk. Carrying a manageable weight in each hand builds wrist grip strength, engages core stabilizers, and improves balance. Research from Harvard Health Publishing highlights grip strength as a key clinical predictor of overall physical resilience in adults over 50.
The Step-by-Step Full-Body Beginner Routine
Perform this workout as straight sets, resting 60 to 90 seconds between sets to allow intra-muscular ATP stores to replenish. Take your time setting up your stance before each exercise, keeping your breathing steady and exhaling during the exertion phase.
| Exercise | Primary Pattern | Sets & Reps | Beginner Regression | Dumbbell Progression |
|---|---|---|---|---|
| Box Squat / Sit-to-Stand | Squat | 2-3 sets x 8-10 reps | Bodyweight to 18-inch chair | Goblet squat with 10-15 lb dumbbell |
| Dumbbell Romanian Deadlift | Hinge | 2-3 sets x 8-10 reps | Wall-tap bodyweight hinge | Pair of 10-15 lb dumbbells |
| Incline Push-Up | Push | 2-3 sets x 8-12 reps | Hands on kitchen counter or wall | Hands on sturdy bench (lower angle) |
| Chest-Supported Dumbbell Row | Pull | 2-3 sets x 10-12 reps | Seated resistance band row | Pair of 8-12 lb dumbbells |
| Farmer's Carry | Carry / Core | 3 sets x 30 paces | Unweighted balanced walking | Pair of 12-20 lb dumbbells |
Mastering the mechanics of each drill ensures maximum joint integrity. Here is how to execute each exercise with proper biomechanics:
- Box Squat: Position feet shoulder-width apart in front of a firm chair. Push hips back, bend knees, and lower under control until your glutes touch the seat. Pause without relaxing your core, then push through heels to stand.
- Dumbbell Romanian Deadlift: Hold light dumbbells against your thighs. Maintain a soft bend in your knees while pushing your hips straight back toward the wall behind you. Lower weights just below kneecap level, then squeeze your glutes to stand tall.
- Incline Push-Up: Place hands slightly wider than shoulder-width on an elevated bench or counter. Lower your chest while keeping elbows tucked at a 45-degree angle to your ribs. Press through your palms back to full lockout.
- Chest-Supported or One-Arm Dumbbell Row: Lean forward with your torso supported to remove shear stress from your lower back. Pull elbows straight back toward your hip pockets, pausing for one second at peak contraction.
- Farmer's Carry: Pick up a dumbbell in each hand, set your shoulders back, brace your abdominal wall, and walk forward smoothly. Avoid letting the weights sway or pulling your shoulders up into your ears.
Weight Selection, RPE, and Progressive Overload
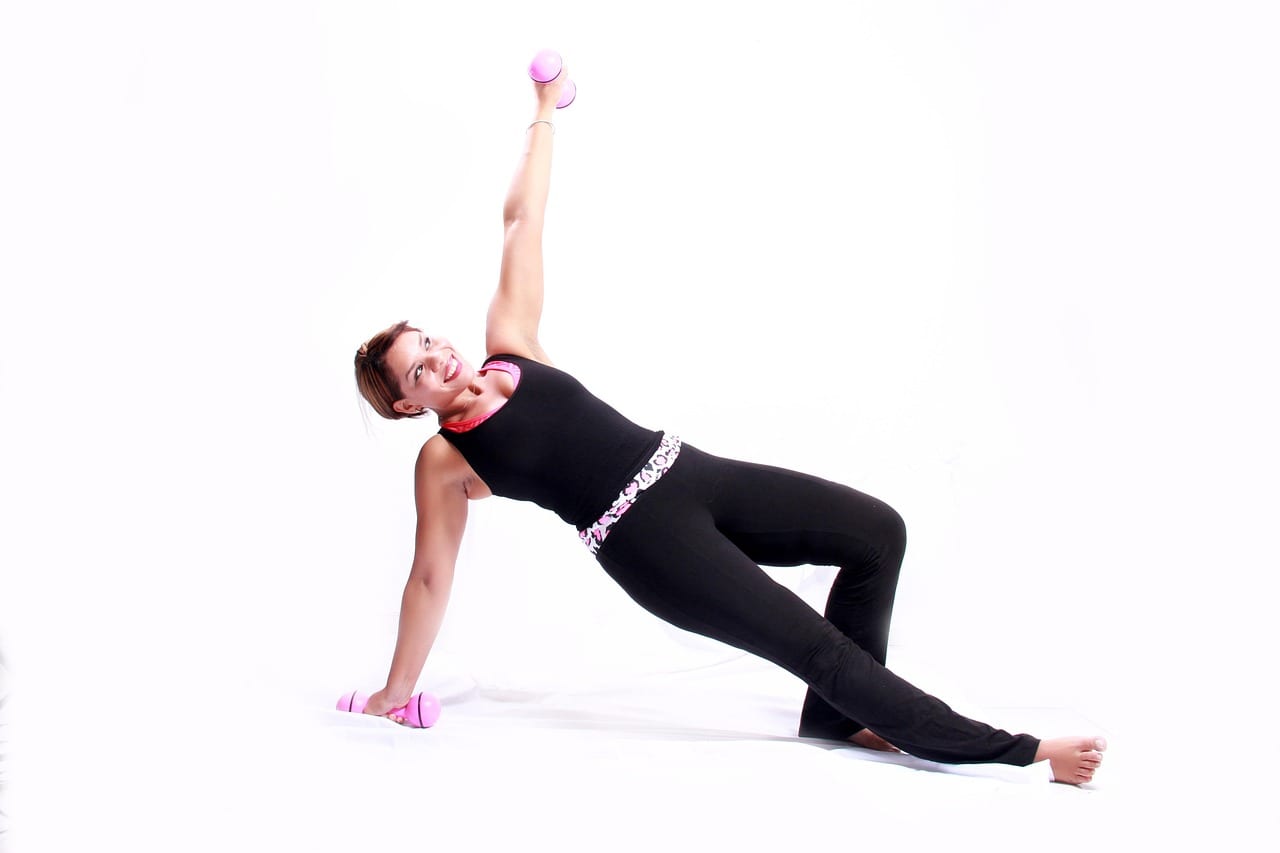
Begin your first workout with weights that feel remarkably light—roughly 50% of what you think you can lift. The initial two weeks exist purely to establish neural coordination, groove motor patterns, and condition collagen without inducing severe delayed-onset muscle soreness.
Measure training intensity using the Rate of Perceived Exertion (RPE) scale, which ranges from 1 to 10. For adults over 50, all working sets should sit strictly between RPE 6 and RPE 8:
- RPE 6: The weight feels moderate. You could easily perform 4 more clean repetitions before technique breaks down.
- RPE 7: The load feels challenging. You could perform 3 more controlled repetitions.
- RPE 8: The final repetition requires distinct mental focus. You could perform 2 more repetitions, but no more.
- RPE 9-10 (Avoid): Grunting, straining, or training to absolute muscular failure. This dramatically increases joint shear stress and injury risk.
To build muscle and stimulate bone density as recommended by the Bone Health & Osteoporosis Foundation, you must apply progressive overload. When you can complete all prescribed sets at the top of the rep range (e.g., 3 sets of 10 reps) at an RPE under 7, increase dumbbell weight by 2.5 to 5 pounds.
Avoid escalating loads weekly. A mature body adapts best when you hold a specific weight steady for two to three weeks before bumping resistance. You can understand structured progression cycles deeper by reviewing our guide on periodization for strength.
Decoding Muscle Soreness vs. Joint Pain Red Flags
Distinguishing between productive muscular adaptation and harmful connective tissue strain keeps you consistent. Muscular soreness is normal when introducing new movements; joint inflammation, tendon friction, and nerve impingement are clear warning signs to halt.
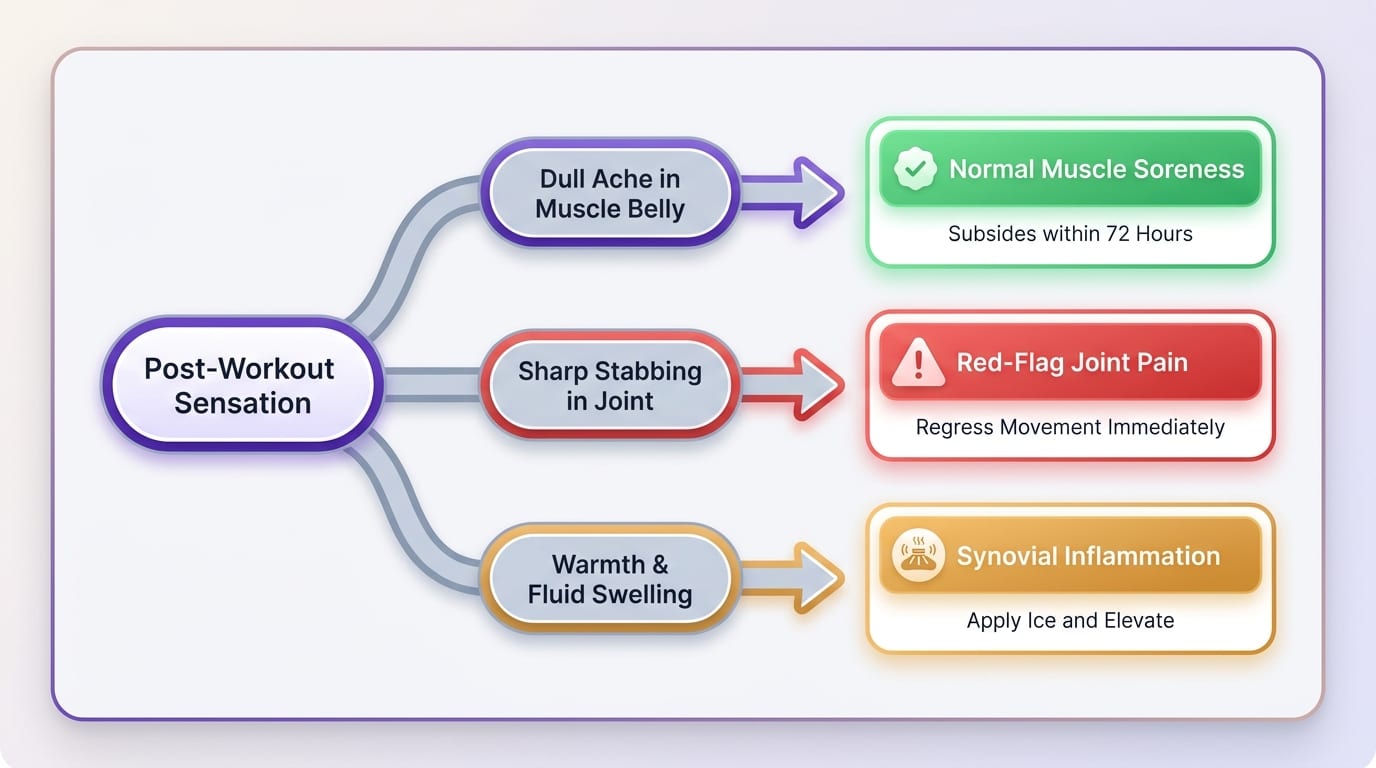
According to the Mayo Clinic, exercise-induced micro-tears produce diffuse muscle tenderness within 24 to 48 hours. Use this rule of thumb to evaluate your post-workout physical sensations:
- Normal Muscle Soreness: Symmetrical, dull, aching sensation located in the belly of the muscle tissue. Improves when warmed up and subsides within 72 hours.
- Red-Flag Joint Pain: Sharp, stabbing, pinching, or burning sensation situated directly inside a joint (knee cap, shoulder cuff, lower back). Does not improve with warmth.
- Swelling and Warmth: Fluid accumulation around the knees or wrists indicates synovial inflammation. Apply ice and elevate the limb.
- Pain During Movement: If an exercise causes discomfort rated above a 3 on a 1-to-10 pain scale during execution, regress the movement immediately.
Joints should feel lubricated and stable after strength training, never aggravated. If a movement produces sharp pain, stop immediately and regress to an assisted variation.
Complement your resistance sessions by integrating low-impact cardiovascular work like brisk walking or swimming on alternate days to promote systemic circulation and joint recovery. For older adults managing osteoarthritis or chronic stiffness, consult guidelines from the National Institute on Aging to customize loading ranges safely.
What is the best beginner strength training routine after 50?
How many days a week should someone over 50 lift weights?
How heavy should my weights be when starting out?
Can strength training reverse bone density loss after 50?
Building lifelong physical resilience after 50 is an incremental process governed by discipline, patience, and meticulous form. If you want personalized, automated adjustments that track your recovery and scale your weights safely, explore how AI for strength training like Fitnix simplifies the process.
Sources & References
- Centers for Disease Control and Prevention — Federal physical activity guidelines for older adults and frequency recommendations for muscle-strengthening.
- PubMed Central — Peer-reviewed clinical research on sarcopenia progression and age-related neuromuscular adaptation.
- American College of Sports Medicine — Exercise testing criteria, warm-up safety standards, and progressive resistance guidelines for aging adults.
- Harvard Health Publishing — Clinical insights linking grip strength, loaded carries, and physical resilience across mature populations.
- Bone Health & Osteoporosis Foundation — Evidence-based recommendations for mechanical loading and bone mineral density preservation.
- Mayo Clinic — Medical diagnostic criteria for evaluating delayed-onset muscle soreness versus joint pathology.
- National Institute on Aging — Comprehensive federal exercise recommendations and joint-sparing physical activity protocols.