
Blog
Kettlebell Flow Workout for Beginners: An Easy Routine
Master a simple kettlebell flow workout for beginners with step-by-step transitions, weight selection guidelines, and a complete 20-minute routine.

A kettlebell flow workout for beginners connects separate strength exercises into one fluid, unbroken sequence using a single piece of iron. You only need one moderate bell and six square feet of floor space to complete an effective 20-minute training session. If you want to learn how to start a fitness routine that builds lean muscle and aerobic capacity simultaneously, movement chaining provides exceptional efficiency.
Unlike isolated lifting, a flow eliminates idle rest between repetitions within a round. The Mayo Clinic emphasizes that combining resistance exercises with continuous movement improves heart health, joint flexibility, and muscular endurance in minimal training time.
What Is a Kettlebell Flow (and How It Differs From a Circuit)
A kettlebell flow links two or more exercises together so that the finish position of one movement becomes the starting position of the next. You complete a repetition of every movement in sequence before setting the weight down. Research highlighted by the American Council on Exercise shows that dynamic kettlebell sequences elevate heart rates to aerobic training zones while maintaining intense muscular recruitment.
In a traditional circuit, you finish five to ten reps of goblet squats, set the bell on the floor, rest briefly, and then perform overhead presses. In a flow, one deadlift transitions straight into a clean, which travels instantly into a squat and an overhead press.
- Continuous momentum: Kinetic energy transfers directly between planes of motion without pauses.
- Zero floor drops: The kettlebell never touches the rubber mat until an entire multi-movement chain finishes.
- Neuromuscular coordination: Flowing demands constant core bracing and balance adjustments across changing centers of mass.
| Training Variable | Traditional Kettlebell Circuit | Continuous Kettlebell Flow |
|---|---|---|
| Movement Pacing | Segmented sets with pauses between exercises | Seamless transition from rep to rep without stopping |
| Weight Requirements | Varying weights (heavier squats, lighter presses) | Single conservative bell dictated by the weakest movement |
| Primary Demand | Localized muscular fatigue and raw strength | Grip endurance, aerobic capacity, and coordination |
| Floor Resets | Bell rests on the floor between exercise changes | Bell stays in hand through the entire round |
Selecting the Right Kettlebell Weight for Flow Sequences
Your overhead press strength dictates the kettlebell weight you should select for a flow, regardless of how much you can squat or deadlift. Choosing a bell that matches your lower-body capacity will cause immediate technical failure during overhead locks and rack transfers. Analysis from BarBend points out that conservative loads allow lifters to master transitions without developing shoulder impingement or wrist strain.
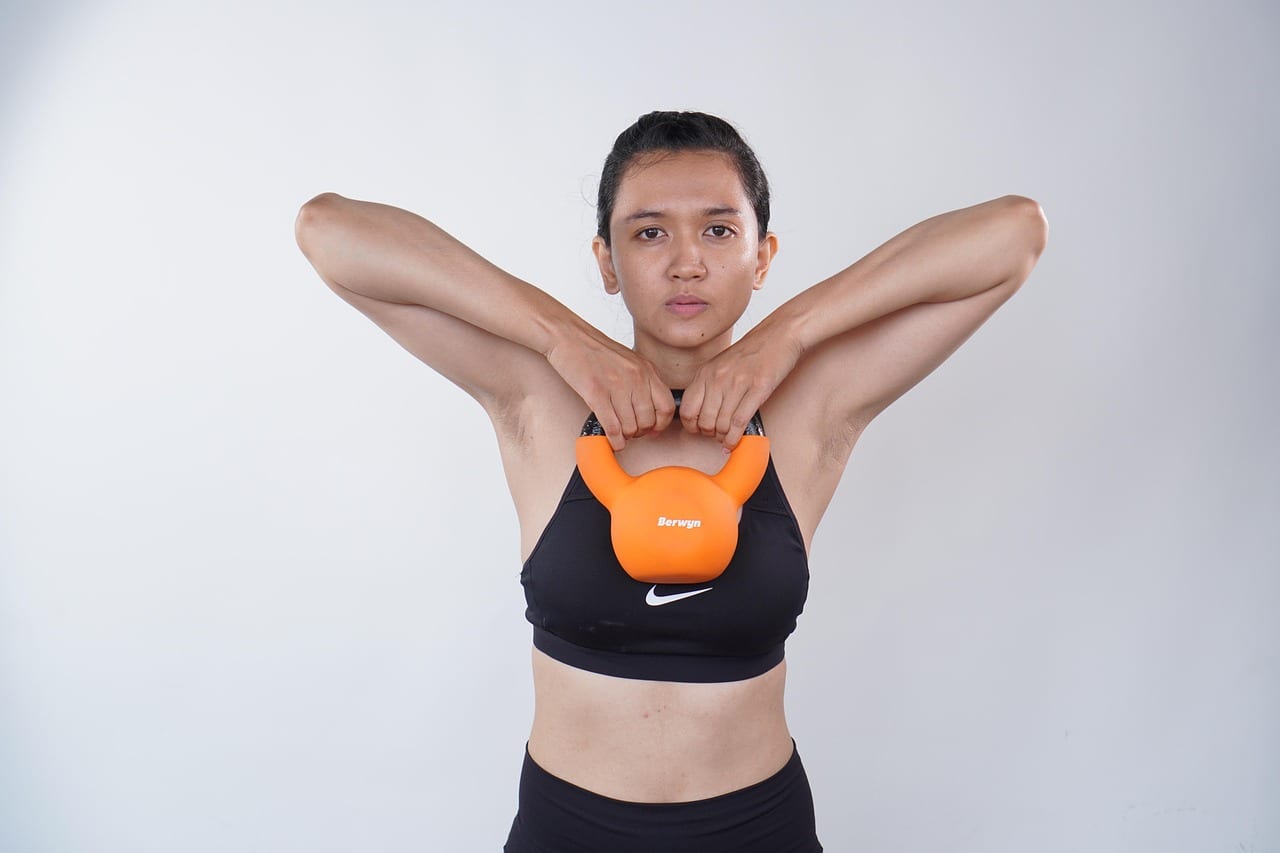
For adult beginners, standard starting weights provide adequate resistance without overwhelming stabilizer muscles. Most women achieve the best learning outcomes with an 8 kg (18 lb) or 12 kg (26 lb) bell. Most men should begin with a 12 kg (26 lb) or 16 kg (35 lb) bell.
- Test your strict press: Pick a weight you can press smoothly for 8 clean repetitions with either arm.
- Evaluate grip security: You must be able to hold the bell in the rack position for 30 seconds without your wrist buckling.
- Prioritize movement speed: If the bell drags your torso forward during hinges, reduce the load by 4 kg immediately.
- Stick to cast iron or competition bells: Uniform competition shells maintain consistent balance across all weight increments.
Foundational Flow Movements and Transition Mechanics
The front rack position is the central control hub of any kettlebell flow. In this posture, the bell rests in the crook of your elbow against your chest, with your wrist straight and your elbow glued tight to your ribcage. Guidelines from StrongFirst establish that a locked rack protects the shoulder joint while serving as the springboard for squats, presses, and carries.
Every flow relies on the hip hinge to generate power. Rather than squatting down with your knees forward, push your hips back toward the wall behind you while maintaining a flat spine. Biomechanical exercise standards on ExRx.net demonstrate that driving through the posterior chain minimizes sheer forces across the lumbar discs.

- Kettlebell Deadlift to Clean: Drive through your heels, snap your hips forward, and thread your fingers through the handle as the bell rises.
- Clean to Goblet Squat: Catch the bell in your rack or cup the horns with both hands as you descend between your hips.
- Squat to Overhead Press: Use the upward momentum of your squat ascent to press the iron directly overhead to arm lockout.
- Press to Reverse Lunge: Lower the bell safely back to the rack position before stepping one leg back into an upright lunge.
The Step-by-Step 5-Movement Beginner Flow Routine
This routine connects five foundational movements into one continuous sequence on your dominant side, followed by an identical sequence on your non-dominant side. It provides a complete kettlebells full body workout that builds functional strength without requiring complicated acrobatic juggling. Perform each step with deliberate control.
- Step 1: Single-Arm Deadlift: Stand over the bell with feet shoulder-width apart. Hinge at your hips, grip the handle, lock your lats, and stand tall to extend your hips.
- Step 2: Clean to Rack: Hinge back slightly to create momentum, snap your hips, and guide the bell into the front rack position without letting it flip over your wrist.
- Step 3: Front-Loaded Squat: With the bell secured against your chest, sit your hips down between your ankles to parallel depth, then drive upward through your heels.
- Step 4: Strict Overhead Press: From the top of the squat, press the bell directly overhead until your bicep lines up with your ear, keeping your ribs pulled down.
- Step 5: Reverse Lunge and Reset: Lower the bell smoothly to the rack. Step the opposite leg backward, tap your rear knee lightly to the floor, stand up, and return the bell to the floor.
The National Strength and Conditioning Association emphasizes that deliberate eccentric control during compound transitions improves joint stability far more than rushed speed. Spend 2 to 3 seconds on every descent.

Warm up your hips and shoulders with dynamic arm circles and unweighted hinges for two minutes before picking up the bell. Cool down with basic hamstring and chest stretches after your final set.
Structuring Your Workout: Rounds, Reps, and Rest Intervals
Structure your flow session around interval pacing rather than racing against a stopwatch. Performing 1 rep per movement equals 1 completed flow sequence. Completing one sequence on your right arm followed by one sequence on your left arm constitutes 1 full round.
Cardiovascular recommendations from the American College of Sports Medicine suggest maintaining defined rest intervals between high-output sets to prevent premature muscular failure.
- Week 1 (Familiarization): Complete 4 total rounds. Rest 90 seconds between rounds to focus strictly on movement transitions.
- Week 2 (Endurance Building): Complete 5 total rounds. Rest 60 seconds between rounds as your rack balance improves.
- Week 3 (Density Focus): Complete 6 total rounds. Rest 45 seconds between rounds while maintaining rigid spinal control.
If you are following your first week of at-home workouts, run this flow routine two or three non-consecutive days per week. Increase the total number of completed rounds before upgrading to a heavier kettlebell.
Common Transition Mistakes and Injury Prevention
Rushing transitions under fatigue is the leading cause of technique breakdown in kettlebell flows. When you hurry, the trajectory of the bell widens, pulling your spine out of neutral alignment. A clinical study indexed by PubMed found that uncontrolled asymmetric loads drastically increase shear forces on the lumbar spine.
- Banging your forearms on the clean: Do not let the kettlebell arc out away from your body like a pendulum. Keep your elbow close and 'tame the arc' by inserting your hand through the handle as it reaches chest height.
- Hyperextending your lower back on presses: Keep your glutes squeezed and your abdominal wall braced. Leaning back indicates the kettlebell is too heavy for your shoulder stabilizers.
- Collapsing your knees inward during squats: Drive your knees out in line with your middle toes. The asymmetric load in the rack requires extra hip abductor activation to stay centered.
- Losing grip tension during transitions: Never regrip the handle while the bell is falling freely. Catch the handle securely before initiating the next movement phase.
Focus on deliberate cadence over speed. For structured guidance tailored to your current equipment, the Fitnix app designs personalized training blocks that adapt sets and pacing to your progress.

What makes a kettlebell flow different from a complex?
What weight kettlebell should I start with for flows?
How can I stop the kettlebell from banging my wrists during cleans?
Can I do a kettlebell flow workout every day?
Sources & References
- Mayo Clinic — Guidelines on resistance training benefits for cardiovascular health and functional mobility.
- American Council on Exercise — Clinical research on calorie expenditure and aerobic demands of kettlebell training.
- BarBend — Practical load selection criteria and programming strategies for single-kettlebell complexes.
- StrongFirst — Biomechanical standards for the kettlebell front rack position and clean execution.
- ExRx.net — Kinetic chain mechanics and proper joint positioning during multi-joint hip hinges.
- National Strength and Conditioning Association — Evidence-based recommendations for eccentric control and compound movement sequencing.
- American College of Sports Medicine — Work-to-rest interval principles for conditioning and injury prevention.
- PubMed — Peer-reviewed biomechanical analysis of spinal loading during asymmetric kettlebell lifts.