
Blog
How to Increase Your Squat: Form and Strength Guide
Learn how to increase squat strength with proven programming rules, biomechanics cues, sticking point fixes, and accessory lifts for long-term barbell gains.

Adding 20 to 50 pounds to your back squat requires biomechanical precision, not guesswork. Learning how to increase squat numbers over an 8-to-12-week block comes down to fixing your bar path, training in the 3 to 6 rep range, and managing training volume.
According to research from the National Strength and Conditioning Association, consistent barbell strength adaptation demands systematic overload and specific movement practice. With an Olympic barbell, a squat rack, and weight plates, you can dismantle plateaus using the protocols outlined below.
| Training Variable | Optimal Parameter | Target Adaptation |
|---|---|---|
| Frequency | 2 to 3 sessions per week | Neuromuscular motor recruitment and movement efficiency |
| Primary Intensity | 75% to 87.5% of 1RM (RPE 7-9) | High-threshold motor unit recruitment |
| Volume per Session | 3 to 5 heavy working sets | Optimal mechanical tension without systemic breakdown |
| Target Rep Range | 3 to 6 repetitions per set | Maximal strength and myofibrillar hypertrophy |
| Deload Frequency | Every 4 to 6 weeks (-40% volume) | Spinal decompression and central nervous system recovery |
Dial in Biomechanics: The Setup and Execution Rules
A vertical bar path over midfoot is the single most critical biomechanical rule for moving maximum weight. Any horizontal drift forward or backward creates an unnecessary moment arm, wasting energy that should push the bar upward. The Stronger by Science squat guide shows that keeping the bar centered minimizes torque on the spine.
Your foundation dictates bar path stability. Setting your stance width roughly shoulder-width apart with toes flared 15 to 30 degrees allows your femurs to track cleanly between your hips. To refine your foundational posture, review our guide to perfect your squat form.
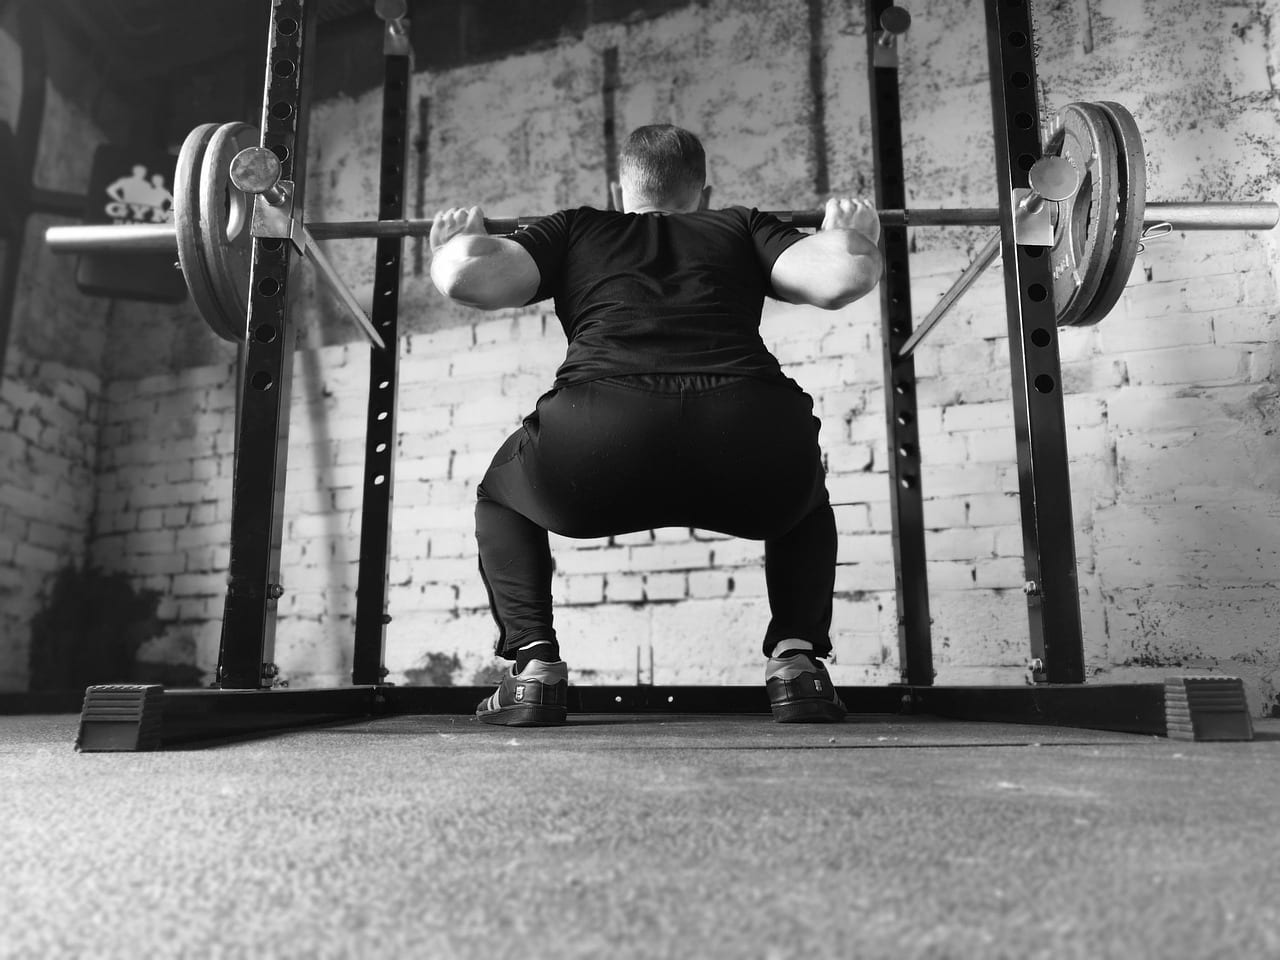
- Bar placement: Position the bar across your mid-traps for high bar, or across the rear deltoid shelf for low bar.
- Grip width: Pull your hands as close to your shoulders as shoulder mobility permits to create upper-back tightness.
- Elbow alignment: Drive your elbows down in line with your torso to lock your lats and brace the upper spine.
- Foot pressure: Distribute pressure evenly across the tripod foot—the heel, base of the big toe, and base of the pinky toe.
- Head position: Fix your gaze on a static floor point roughly 6 to 10 feet ahead to maintain a neutral cervical spine.
Creating intra-abdominal pressure through the Valsalva maneuver stabilizes your core before descending. Take a 360-degree diaphragmatic breath into your stomach, obliques, and lower back, then bear down. Biomechanical research demonstrates that intra-abdominal pressure increases spinal stiffness and core stability under heavy loads.
The unrack must be disciplined. Many lifters waste significant energy taking four or five shuffling steps away from the J-hooks. A standardized two-step walkout keeps your core tight and conserves vital ATP-CP reserves for the heavy set.
- Step 1: Step straight back with your dominant leg, placing your heel firmly in its squatting track.
- Step 2: Step back with your secondary foot to match width, mirroring your primary foot's angle.
- Step 3 (Micro-adjustment): Settle your weight evenly over your midfoot, take your diaphragmatic breath, and initiate the descent without delay.
Deciding between low bar vs high bar squat comes down to your personal anatomy and powerlifting goals. Low bar placement shortens the moment arm between the barbell and knees while shifting more load to the hips and posterior chain, allowing most lifters to move 5% to 10% more weight. As explained in Starting Strength's bar position analysis, low bar recruits more posterior chain musculature.

Structure Your Squat Programming: Frequency, Volume, and Intensity
Lifting heavy weights once a week rarely provides enough stimulus to break plateaus. Training squats 2 to 3 times per week distributes volume effectively, allowing higher bar velocity and cleaner execution. The American College of Sports Medicine notes that multi-joint compound lifts thrive under frequent, moderate-volume exposures.
Maximal strength requires practicing high force output within specific neuromuscular parameters. Working between 75% and 87.5% of your 1RM—roughly RPE 7 to RPE 9—maximizes motor unit synchronization without causing immediate burnout. Keeping your primary working sets between 3 and 6 reps develops myofibrillar density.
- Day 1: Heavy Primary Squat: 4 sets of 3 to 5 reps at 80% to 85% 1RM. Focus on maximal force output and precise bar path.
- Day 2: Volume / Technique Squat: 4 sets of 5 to 6 reps at 70% to 75% 1RM. Emphasize speed out of the hole and perfect bracing.
- Day 3: Squat Accessory / Pause Day: 3 sets of 3 reps with a 2-second pause at 65% to 72.5% 1RM. Targets reversal strength.
To trigger continuous adaptations, apply structured progressive overload rather than adding weight arbitrarily. Adding 5 pounds per week or an extra repetition creates an inescapable stimulus. Research indicates that maintaining roughly 6 to 12 weekly working sets drives consistent long-term strength adaptations without accumulating excessive fatigue.
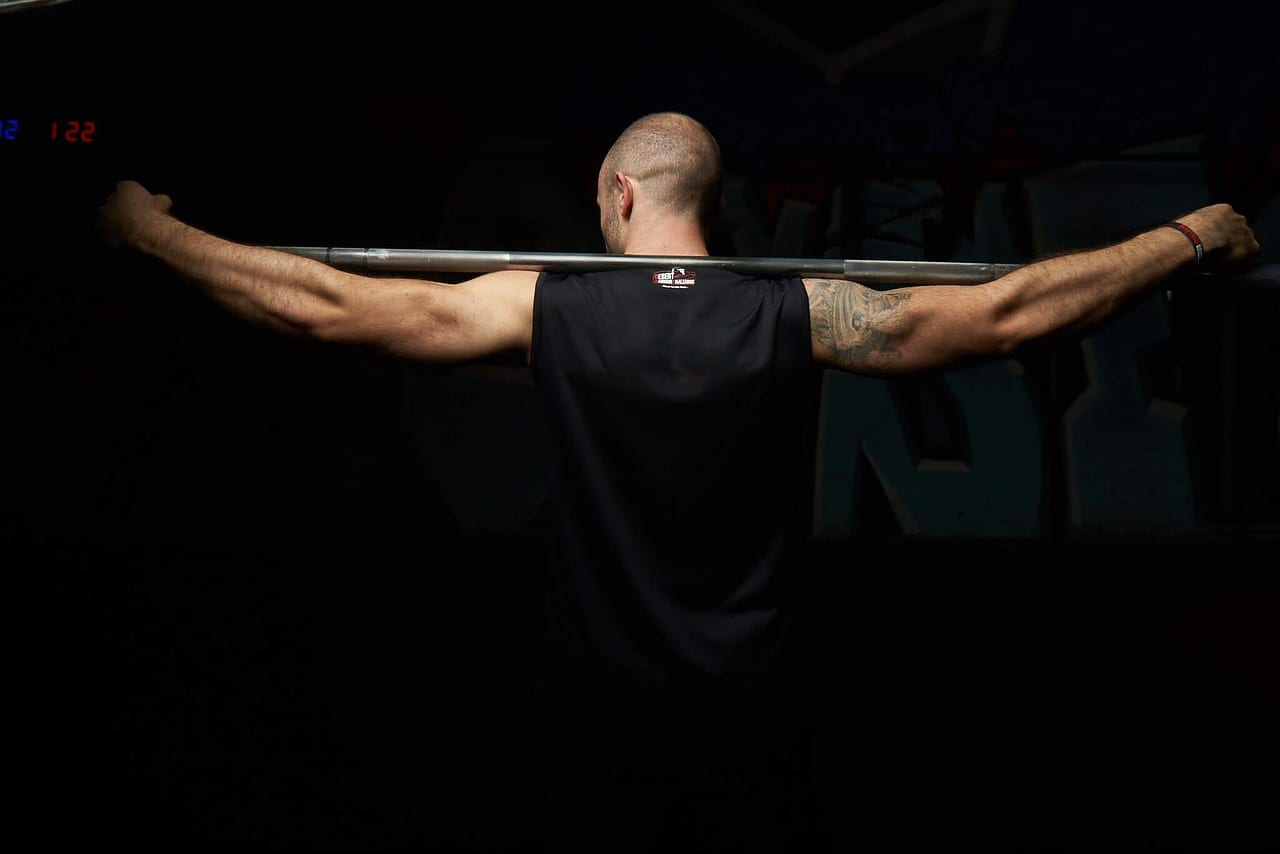
- Linear Step Loading: Add 5 pounds to your primary working sets each week until bar speed slows noticeably on rep one.
- Double Progression System: Establish a rep bracket (e.g., 3 sets of 4 to 6 reps). Only increase the barbell weight once you hit 6 reps on all sets.
- RPE Buffer Enforcement: Never train to absolute muscular failure on the squat. Always keep 1 to 2 reps in reserve (RIR) to maintain safety and movement form.
- Wave Loading Cycles: Alternate between 3-week volume waves (higher reps) and 3-week intensity waves (heavier weights) to avoid plateauing.
Diagnose and Eliminate Common Sticking Points
A sticking point is the biomechanical position where leverage drops and barbell acceleration stalls. Rather than simply trying to 'push harder,' identify the exact joint angle failing. Coaches at Juggernaut Training Systems note that targeting the weak joint angle with modified lifts resolves the underlying issue.
Lifters typically miss squats in one of two distinct regions: at the parallel reversal phase or midway through the ascent. Each failure point signals an imbalance between your quadriceps, glutes, or spinal erectors. Identifying your specific breakdown allows you to apply targeted corrective drills.
- Failing in the Hole (Bottom Position): Caused by weak quadriceps or a loss of intra-abdominal bracing. You lose bounce, and your hips drop backward. Correct this using 2-second pause squats and box squats set to parallel.
- Mid-Ascent 'Good Morning' Squat: Occurs roughly 3 to 5 inches above parallel when quads fatigue, forcing the hips to shoot back and the torso forward. Address this with front squats and heavy Romanian deadlifts.
- Lockout and Upper Back Collapse: Stems from weak glutes or loose thoracic erectors failing under spinal load. Fix this by incorporating pin squats set at chest height and heavy barbell hip thrusts.
To diagnose your sticking point accurately, record your heavy working sets from a 45-degree side angle. Watch where the barbell visibly decelerates during your top sets. You can cross-reference joint angles against muscle anatomy on ExRx.net to determine whether knee extensors or hip extensors gave out first.
Build Prime Movers with Targeted Squat Accessories
Squatting alone will not always eliminate individual muscular weaknesses. Specialized accessory exercises strengthen the prime movers—the quadriceps, gluteus maximus, adductor magnus, and erector spinae—without accumulating excessive axial fatigue. Selecting two or three targeted accessories per training cycle yields dramatic improvements in overall squat stability.
Unilateral work is particularly valuable for strength athletes. Bilateral squats can easily mask left-to-right strength discrepancies, causing hip shifting or rotational torque coming out of the hole. Incorporating unilateral split work forces each leg to stabilize and bear load independently.
- 2-Second Pause Squats: Eliminates the stretch reflex at the bottom, forcing pure concentric quad recruitment and reinforcing midfoot balance.
- Bulgarian Split Squats: Builds unilateral quad and glute strength while ironing out pelvic asymmetries and improving knee stability.
- Romanian Deadlifts (RDLs): Trains the hamstrings and spinal erectors to maintain an isometric arch under severe hip flexion.
- Safety Bar Squats: Places greater mechanical demand on your upper back and quadriceps while reducing stress on elbows and shoulders.
Program your accessory lifts immediately after your main squat working sets. Keep accessory volume between 3 and 4 sets of 6 to 10 reps. This rep range stimulates myofibrillar hypertrophy in supporting muscle groups without overtaxing your joints.
Manage Fatigue and Execute Deloads for Long-Term Gains
Heavy axial loading places immense systemic demands on your central nervous system and spine. Without planned recovery, accumulated fatigue masks strength gains. Research demonstrates that prolonged high-intensity training without recovery leads to accumulated neuromuscular fatigue and stalled performance.
Implementing a scheduled deload week every 4 to 6 weeks prevents overreaching and restores joint integrity. During a deload, reduce your total squat volume by 40% to 50% while keeping the intensity around 70% of your 1RM. This preserves movement efficiency while allowing connective tissue to recover.
- Persistent bar speed decay: Warm-up weights at 60% 1RM feel heavy, sluggish, or off-balance.
- Joint ache and tendinopathy: Dull patellar or hip joint aches that do not resolve after thorough warm-up sets.
- Plateau across two sessions: Inability to hit target reps with loads you completed comfortably two weeks prior.
- Disrupted sleep or grip fatigue: Classic systemic indicators of autonomic nervous system overload.
Support your training with adequate baseline nutrition. Eat 0.8 to 1.0 gram of protein per pound of body weight and maintain a modest caloric surplus. For lifters wanting automated programming and volume tracking, Fitnix provides tailored lifting progression based on your equipment and schedule.
How often should I squat each week to increase strength?
What rep range builds squat strength fastest?
Can switching from high bar to low bar immediately increase my squat?
How do I break through a plateau at the bottom of the squat?
Sources & References
- National Strength and Conditioning Association — Guidelines and position statements on resistance training volume and multi-joint exercise periodization.
- Stronger by Science — Biomechanical analysis of squat bar paths, hip moment arms, and stance adjustments.
- PubMed: Intra-abdominal Pressure Study — Research validating the role of the Valsalva maneuver in spinal unloading during heavy lifting.
- Starting Strength — Mechanics comparing high bar versus low bar placement and posterior chain recruitment.
- American College of Sports Medicine — Resistance training progression models for healthy adults seeking maximal strength.
- PubMed: Resistance Training Frequency Meta-Analysis — Systematic review evaluating the impact of weekly training frequency on strength gains.
- Juggernaut Training Systems — Powerlifting coaching methodologies for diagnosing and fixing compound movement sticking points.
- ExRx.net — Comprehensive anatomical breakdown of primary movers and stabilizer muscles during the barbell squat.
- PubMed: Neuromuscular Fatigue in Strength Athletes — Clinical investigation into central nervous system fatigue and motor unit suppression.